Showing posts with label aluminum. Show all posts

Monday, March 24, 2014

Link Love


Diane from CraftyPod and Tammy from daisy yellow art like to share creative ideas and projects.  They have invited others to share 5 posts that Inspired Us to Try Something New.


Diane's article on How to turn a Soda Can into a Spring Brooch inspired me to make a wreath.  


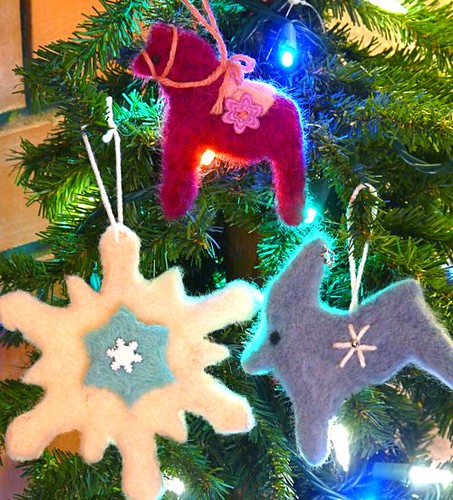
Her mom, Pam from Gingerbread Snowflakes has inspired me to try things like felting and challenged me to make garden markers.  She is always working on something fun!


Sandy Allnock, founder of Operation Write Home has inspired me to learn to color with Copic Markers.

Monika from  I Love it All has inspired me to use an old Reader's Digest book to make a "1st Year Journal".
 

Renee from I came, I saw, I created has inspired me to make a "Welcome to the Area" booklet.

Thank You ladies for being such crafty inspirations!

Monday, February 11, 2013

You Rock!


Thought this Bailey Rocks ~digital image by Hambo Stamps would be perfect for a tag on a Valentine gift for my Sweetie. {He subscribes to my blog so I won't show the gift}.


The Hambo Challenge for this week was to use one of their images and some metal.  I punched scalloped shapes out of some pop cans and embossed them.

Supplies Used:
Bailey Rocks Digital Image ~Hambo Stamps
Scallop Punches ~McGill
Plaid Edger ~EK Success
Vertical Punch ~EK Success
Diamond Plate Embossing Folder ~Cuttlebug
Stars Embossing Folder ~Cuttlebug
Metal ~Sunkist pop can
Ribbon ~My Stash
B28  BV25  G43  G46  Y32  YR68 W2 ~Copic Sketch Markers

Thursday, April 26, 2012

How does your Garden Grow?


Is it time to start your garden for the year? Or is it still too cold at night?
Well, if you need some markers for the goods to come, here is an example of one you can make. No, I don't have Rhubarb planted, but wish I did.


Gather your supplies:
Empty Pop Can
     (I grew up in Buffalo, New York and that's what we call carbonated drinks)
Garden Gloves
Safety Glasses
Metal Cutters
Awl or Push Pin to make holes
Metal Brads
Foam Pad
Other items: Wire, Wire Cutters


Punch a hole in the can with the Metal Cutters


Cut the top off.  Cut down to the bottom and cut off bottom.


 It should look like this. Be careful~ this is when you can really cut yourself.


 Now trim off the part of the can that is curved so you are left with a somewhat flat piece.


Cut into the size pieces you want for your marker. About 3.5" x 4"


I used the Victoria Cuttlebug folder with my Cuttlebug and 2 B plates


to emboss the aluminum.


Round the corners. Cut a label from the scraps and round the corners.


 Poke a guide hole with awl and insert the brads.


Now you are ready to attach marker to your garden stake with some nails or wire.


I tried to match the pop can color to the veggie featured.  An orange can would be pretty for the carrots.


All this started when my friend Pam from Gingerbread Snowflakes suggested that the techniques used in making my aluminum flowers and wreath could be used in a garden format. 

Update: Please see Pam's blog post Recycled Aluminum Cans are Perfect Plant Markers