Saturday, January 7, 2012

New Year ~ New Things


What does a new year mean? A chance to start fresh, to draw a line and leave the old or bad behind and try to be better, try new things...

Here are a few cards I made trying new techniques and a new Cricut cartridge "Word Collage".  I have recently learned how to use Copic Markers and look forward to other new products, new techniques, new friends...

What about you?

Tuesday, December 27, 2011

Cricut Recipe Book


I received a Provo Craft YourStory Photo Personal Bookbinding Kit as a gift and wanted to make a Recipe Book for my mother-in-law and sisters-in-law.  


I made a trial one first just to see what stamps to use and where I wanted everything.  I assembled my Cosmo Cricket Garden Variety paper, Kate's Kitchen and From My Kitchen Cricut Cartridges, Stampendous Recipe File and Unity Stamp Garden Variety stamps. 


Then I started cutting my pages and Cricuting my cards, tabs and words.

The stamp set had a limited number of section names so I had to categorize the recipes according to what the stamp set had.


I had collected favorite recipes from my husband, mother-in-law, sister-in-law and my husband's grandmother along with a few of my favorites.


I used the "From the Kitchen of" stamp on the back of each card to show who the recipe came from.


I even had one from my great grandmother.  I especially like the measurements such as "minced onion" and a "package of cheese".


I had fun working with my Cricut E2, Cricut Craft Room, Cuttlebug and different materials like The Twinery Twine and new techniques. 


Hope the Ladies like their books and the recipes are passed down to the next generation.

Tuesday, December 20, 2011

Snow Cookies


You know a cookie recipe is going to be good when the first ingredient is one pound of butter!  

 This recipe is one of my favorites. I don't know where it originated but I got it from a lady in our church when I was in high school

2 cups butter ( 1 lb)
1 cup sugar
1 tsp vanilla
4 cups flour
powdered sugar   

After you cream the butter and sugar; add the vanilla then blend in the flour.
Divide and put on waxed paper and make into rolls.  Refrigerate and slice.


They can be pretty close together because they don't spread out at all. 

Put on cookie sheet and bake at 350 for 10-12 minutes


Do not let them cook until dark or brown on the edges.  They are burned.


You want them to look like they just went in.

And the bottom is just brown. 


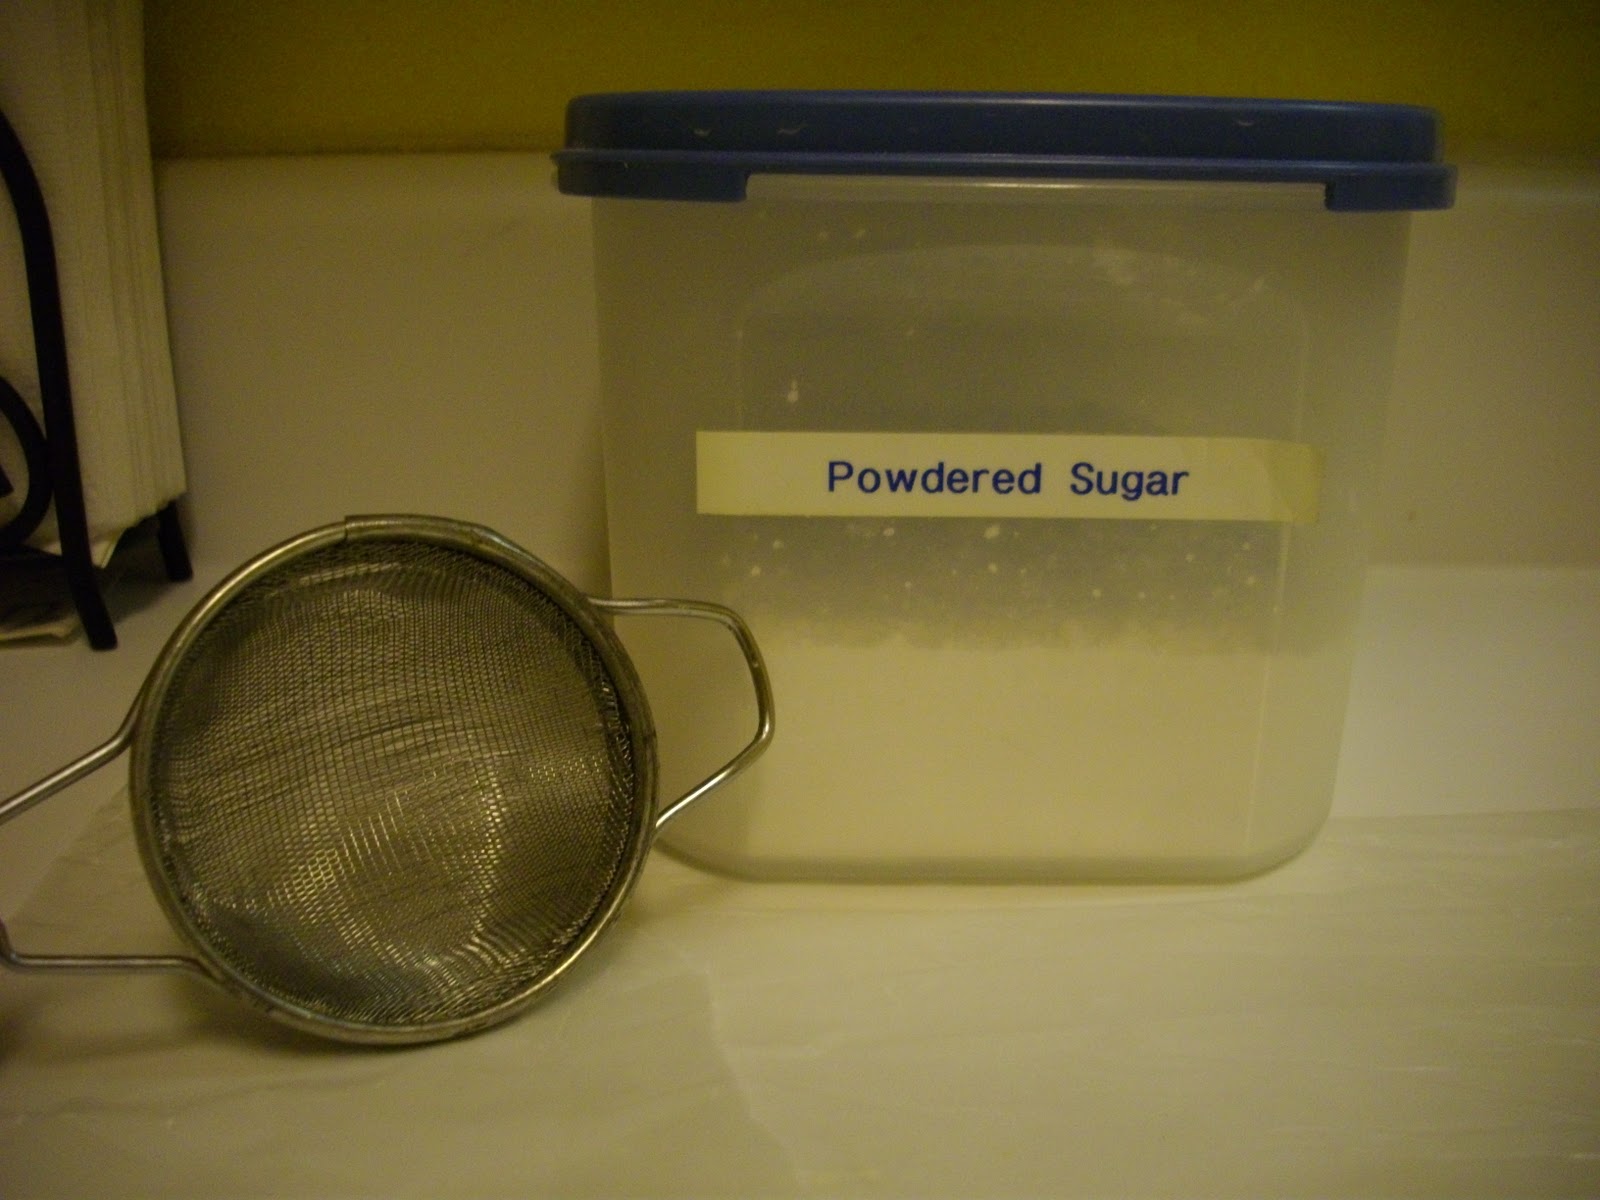
Put some powdered sugar in a sifter and 


shake on the cookies while they are still hot.


Try one.....

Saturday, December 17, 2011

Snowflakes


Snowflakes made with the help of my E2, 


Art Philosophy cartridge


Cricut Craft Room and Martha Stewart Score Board


Tuesday, November 1, 2011

Tone on Tone


I have always liked using one color in different layers.

Teal worked well since I had the Teal base paper, the argyle pattern paper and Versa Magic Chalk Ink in Turquoise Gem.


The little Hero Arts flags are cute and the pattern worked with the DCWV adhesive background paper.

I do like to add a little something on the inside of the card.

Sunday, October 23, 2011

So you think you know Yummy


I have made Pumpkin Bread Muffins before but none as good as the ones I made tonight.

They were light, fluffy and just delicious.


 It may be that the pans I used made the difference. 
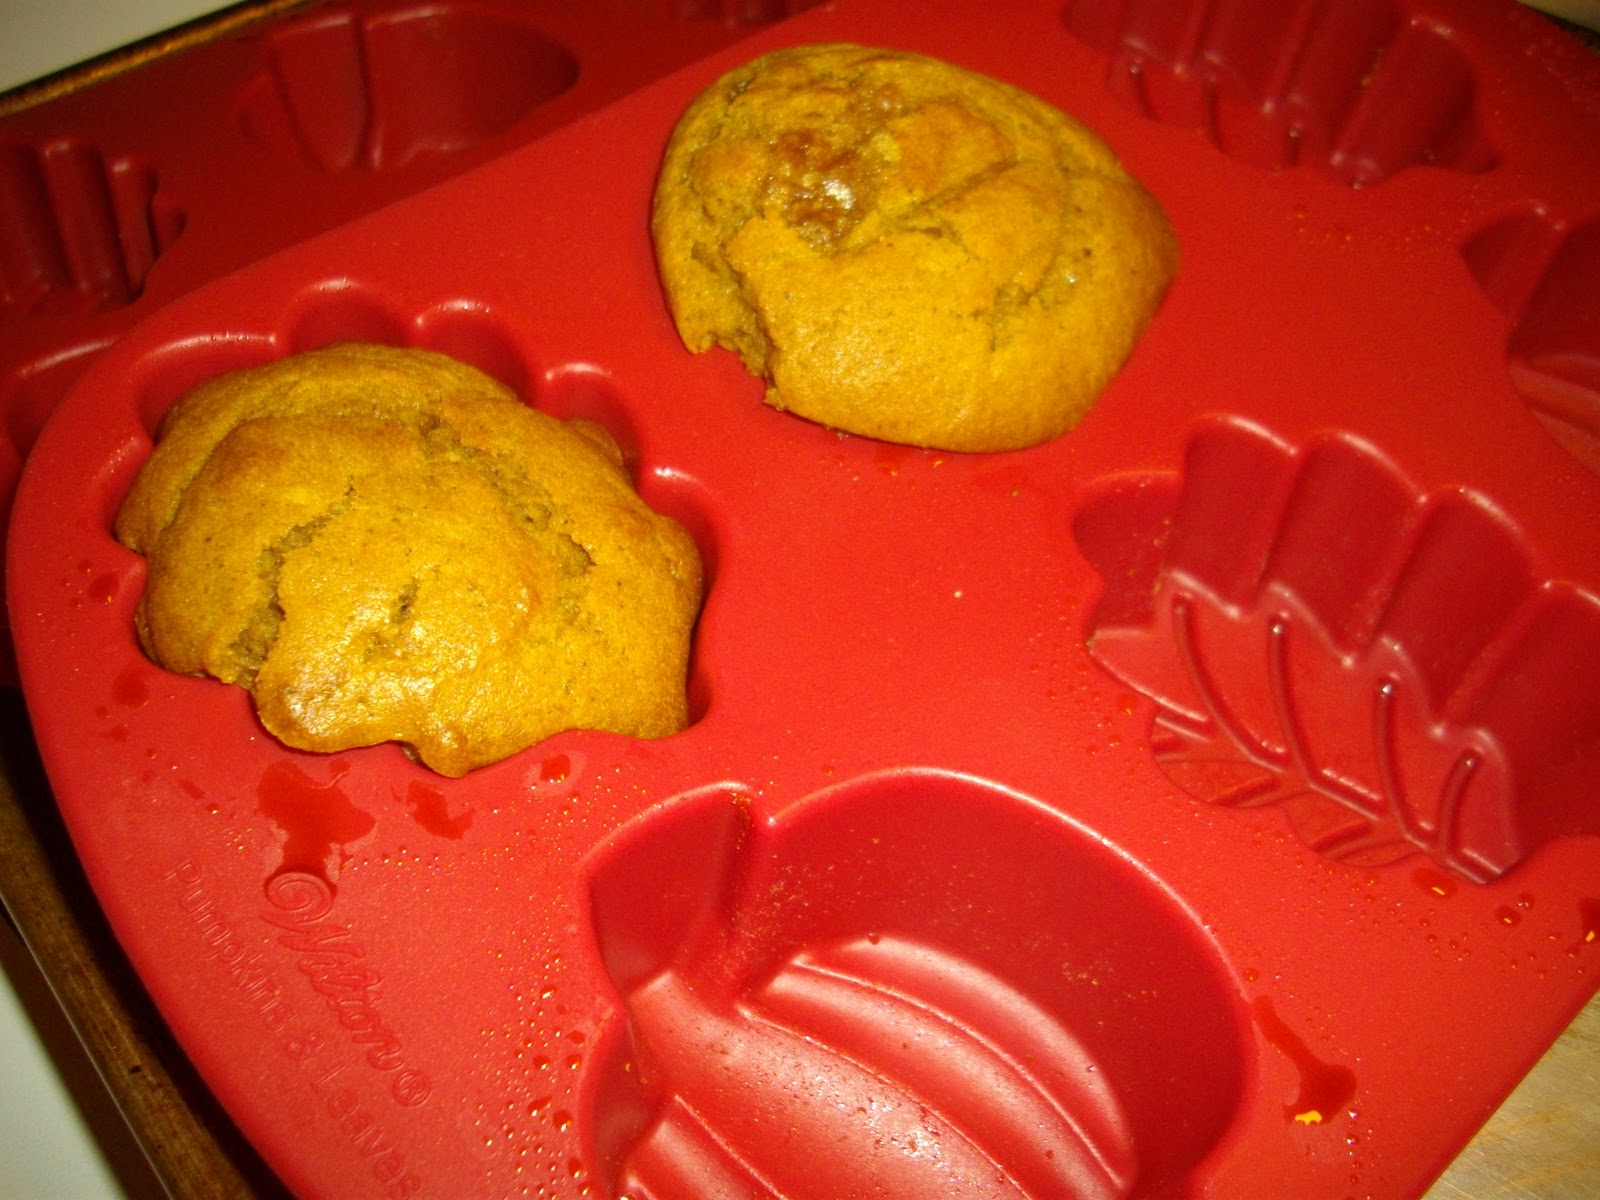
They are silicone pans by Wilton that I got at Michael's.

I divided the recipe batter between the two pans and had a little bit more in each mold than I wanted so the muffins rose a little bit over but it just made more goodness to eat.


The patterns came out nicely and the parts of the mold that were closest to the baking sheet underneath cooked just a little darker and helped make the shapes look even better.

You can see how high the muffins got and that they don't stand up well on their own.  I guess I'll have to try again.


Saturday, October 1, 2011

Happy October Birthday


Hey to all my friends and family who have birthdays in October!